How To Set Up A Non-Custodial Wallet: Step By Step
How to set up a non-custodial wallet in seven steps: choose a wallet, install it safely, back up your recovery phrase, send a test and add your first funds.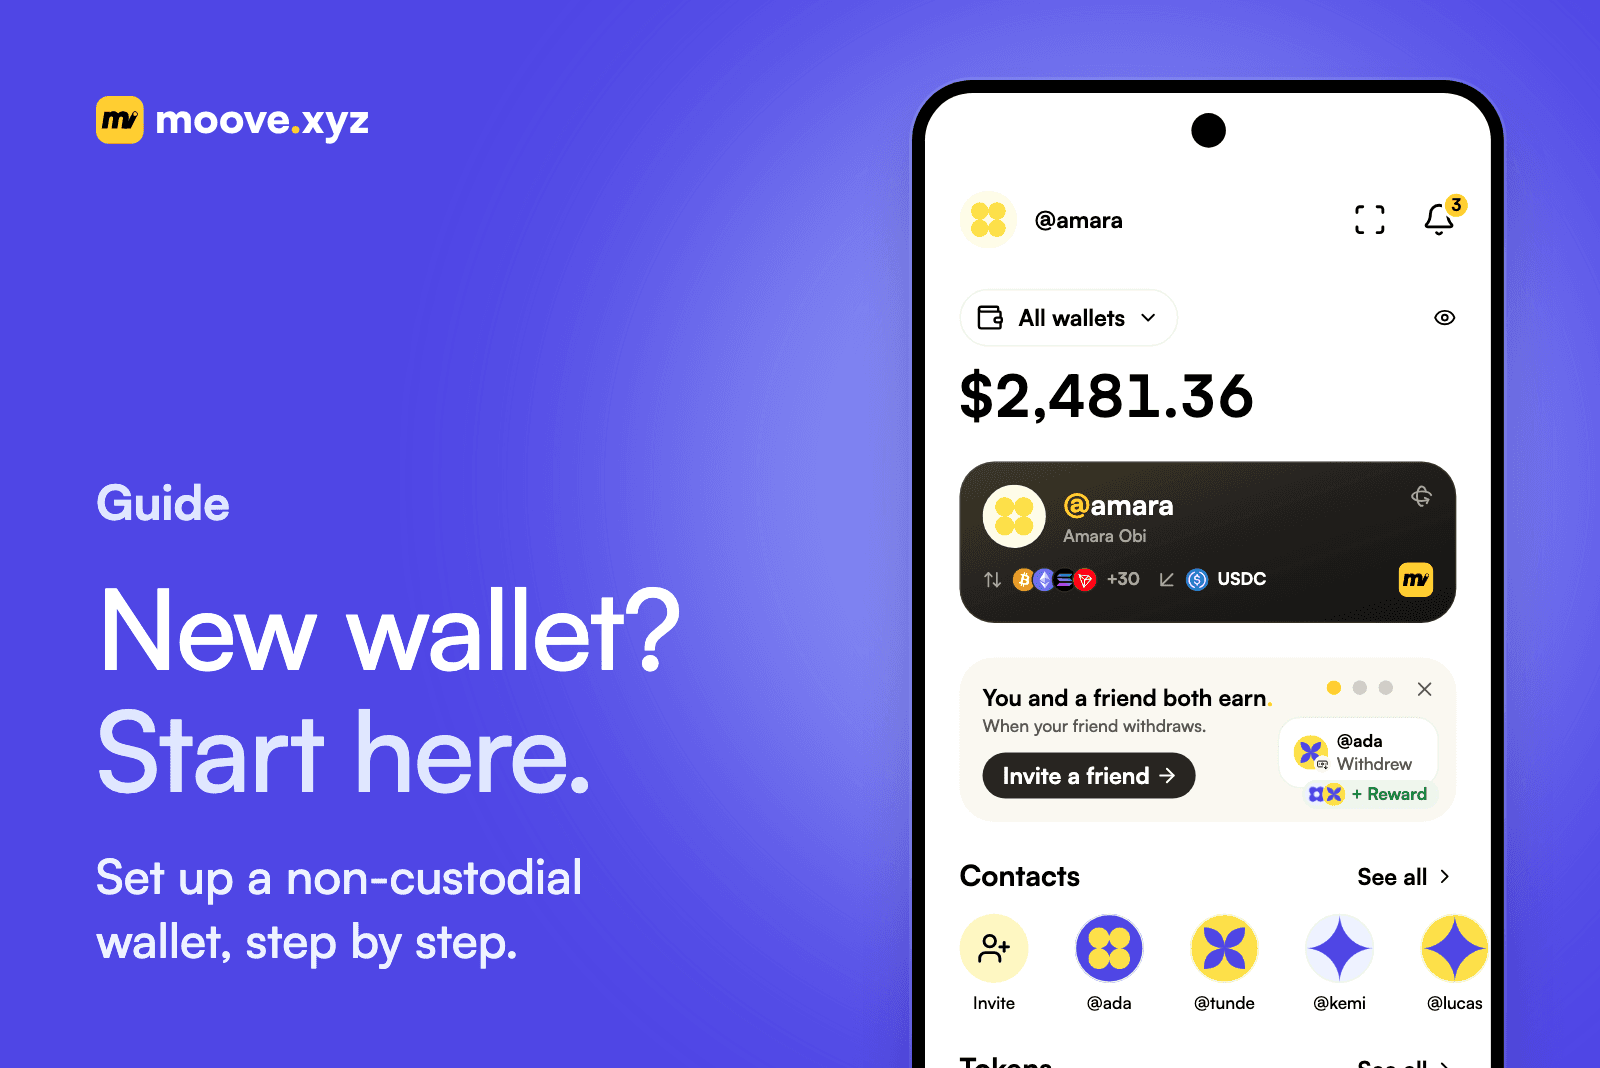
How To Set Up A Non-Custodial Wallet In Seven Steps
If you want to hold crypto yourself rather than leave it on an exchange, the first job is to set up a non-custodial wallet. It takes about ten minutes, and the order matters: most losses happen in the first week, from a fake app, a missing backup or a first transfer on the wrong network. This guide walks through each step in plain language, from choosing a wallet to receiving your first funds, and shows how it works in the Moove App.
New to the idea itself? What Is A Non-Custodial Wallet? explains what you gain and what you take on. This guide is the practical part.
What You Need Before You Start
- A phone or computer you trust. Up to date, with a screen lock, and not shared with anyone.
- Paper and a pen. You will write down a recovery phrase. Do not plan to screenshot it.
- Ten quiet minutes. Setting up while distracted is how backups get skipped.
- A small first amount. Even a few dollars of a stablecoin is enough to test the wallet before you rely on it.
Step 1: Choose A Software Or Hardware Wallet
There are two broad kinds of non-custodial wallet:
| Kind | What it is | Best for | Trade-off |
|---|---|---|---|
| Software wallet | An app on your phone or a browser extension that holds keys | Everyday payments, receiving, swapping | Keys sit on an internet-connected device |
| Hardware wallet | A small physical device that keeps keys offline | Savings you move rarely | Costs money, slower to use, can be lost or damaged |
For most people the answer is to start with a software wallet on their phone and add a hardware wallet later, once the balance is large enough that offline storage is worth the extra step.
Look at how a wallet handles recovery, too. Most use a recovery phrase (also called a seed phrase) of 12 or 24 words. Some newer wallets use passkeys or smart-account recovery instead, which can tie your access to a cloud account or to people you nominate. Neither is wrong, but you should know which one you are choosing, because it decides what you must protect.
Step 2: Install The App From The Official Source Only
Fake wallet apps are one of the most common ways beginners lose money. They copy a real wallet's name and logo, then send your recovery phrase to whoever built them. Security researchers have found them in official app stores as well as on lookalike websites.
Before you install anything:
- Start from the wallet's own website and follow its link to the App Store or Google Play, rather than searching the store.
- Check the developer name on the store listing against the one the website gives.
- Be wary of ads and direct messages offering a download link, a "new version" or a support app.
The test is simple: a real wallet never asks you to type an existing recovery phrase into a website or form to "verify" or "sync" your wallet.
Step 3: Create The Wallet And Lock The App
Open the app and choose to create a new wallet, not import one. The app generates your private keys on your device. In a non-custodial wallet, those keys are never sent to the company that made the app, which is why nobody can freeze, reset or move your funds for you.
Then turn on every lock the app offers:
- Device lock first. A strong passcode on the phone itself.
- Biometrics or a PIN in the app. So that someone holding your unlocked phone still cannot send funds.
- Notifications on. So you see every incoming and outgoing payment as it happens.
Step 4: Back Up Your Recovery Phrase Offline
This is the step that matters most. Your recovery phrase is the wallet. Anyone who has it can take your funds from any device, and if you lose it and your phone, the wallet cannot be restored by anyone.
- Write the words on paper, in order, and check the spelling of each one.
- Store the paper somewhere private and safe from fire and water. For larger balances, consider a second copy in a separate place, or a metal backup.
- Never photograph it, screenshot it, email it or paste it into a notes app or cloud document.
- Never share it. No support agent, exchange or wallet company needs it, ever.
Then test the backup before you rely on it: when you are ready, restore the wallet on a second device or after reinstalling, using only your written words. A backup you have never tested is a guess. How To Secure A Non-Custodial Wallet covers longer-term habits once you are set up.
Step 5: Find Your Address And Understand Networks
Your wallet shows a receiving address, a long string such as one starting with 0x on Ethereum-compatible networks. It is safe to share: it lets people send to you, not spend from you.
The detail beginners miss is the network. USDC and USDT exist on many blockchains, and a transfer must be sent on a network the receiving address supports. Sending on the wrong one is a common and sometimes permanent mistake; Sent Crypto To The Wrong Network? explains what happens then, and Which Blockchain Should You Use? helps you pick.
Also note that every transfer pays a network fee, called gas, to the blockchain itself. What Are Gas Fees? explains why you sometimes need a little of a network's own token to move a stablecoin.
Step 6: Send A Small Test Transaction
Before you move anything meaningful, send a small amount in and out:
- Have a small amount sent to your new address, on the network you plan to use.
- Wait for it to appear in the wallet.
- Send part of it back out, to an address you control or to a friend.
- Check both sides arrived.
It costs a little gas and a few minutes. In return you know the address, the network and the app all work, and you have practised the flow when nothing much is at stake.
Step 7: Add Your First Funds
You can fund a new wallet in three common ways:
- Receive from someone else. Share your address, or a username if your wallet supports one, and ask them to send on a network your wallet supports.
- Move from an exchange. Withdraw to your new address, checking the network on the exchange's withdrawal screen matches.
- Buy with local currency through an on-ramp. A licensed ramp provider converts your money into crypto and sends it to your wallet. This is where an identity check usually comes in, because the provider is handling fiat. How Stablecoin On-Ramps And Off-Ramps Work covers what to expect.
How To Set Up A Non-Custodial Wallet In The Moove App
The Moove App follows the same steps, with a few things done for you. Here is how it works, according to Moove's own documentation:
- Sign up and claim a handle. Download the app from the official link on the Moove Wallet page, tap Sign up and choose a handle. The app creates your Moove Wallet on your device. The wallet is non-custodial: the private key stays on your phone, and moove.xyz never holds your keys or funds.
- Lock it. In settings, turn on Face ID or device authentication, so the app asks for it before sensitive actions.
- Back up your recovery phrase. Sign-up does not show the phrase, so do this straight away: open the account menu, go to your crypto wallets and choose to show the recovery phrase. It is 12 words, moove.xyz never sees it and cannot reset it, and because it uses standard derivation paths it restores in any compatible wallet.
- Know your networks. One recovery phrase gives you addresses on every EVM network, Solana, Bitcoin and Tron.
- Receive. Share your wallet address, a QR code or your handle. A handle means a friend on Moove can send to a name instead of a long address, which removes one way to get an address wrong.
- Test, then fund. Ask someone to send you USDC as a small test, or buy through Moove Ramp where it is available; the on-ramp page lists what you can buy. If you end up holding the wrong stablecoin, you can swap USDC to USDT or back in the app.
You do not need to verify your identity to hold or send crypto in the Moove App. Verification applies only when you buy or sell through the ramp. On Moove's pricing, a same-chain, same-token transfer carries no Moove fee, and a cross-chain or cross-token one carries 0.02%, with network gas charged separately by the blockchain.
Common Setup Mistakes To Avoid
- Installing from a search ad or a link in a message instead of the wallet's own website.
- Skipping the backup because the app did not force it at sign-up.
- Storing the phrase as a photo or in a cloud note.
- Sending a large first transfer without a test.
- Choosing the wrong network on an exchange withdrawal.
- Trusting "support" that contacts you first. Real support never needs your recovery phrase.
Start With A Wallet Only You Control
A non-custodial wallet takes ten minutes to set up and a lifetime to keep safe, and almost all of that safety is decided in the first ten minutes: the right app, a tested offline backup and a small first transfer.
👉 Ready to try it?
Download the Moove App, claim your handle and back up your recovery phrase, and you will have a wallet only you control on every major network.
This guide is general information, not financial advice.
About moove.xyz
moove.xyz is an everyday money app for digital dollars. Hold USDT and USDC in a wallet that is yours, send to anyone by their @handle, swap across 30+ chains, and cash out to your local currency where Moove Ramp is available.
Your money. Your move.
Frequently asked questions
How do I create a non-custodial wallet?
Do I need ID to set up a non-custodial wallet?
Is a software wallet or a hardware wallet better for beginners?
What happens if I lose my phone?
Can I use the same wallet on different blockchains?
Get the Moove App
Hold USDT and USDC in a wallet that is yours, and send to anyone by their @handle.